
Skating backwards on inline skates: a complete guide and step-by-step technique [2026]
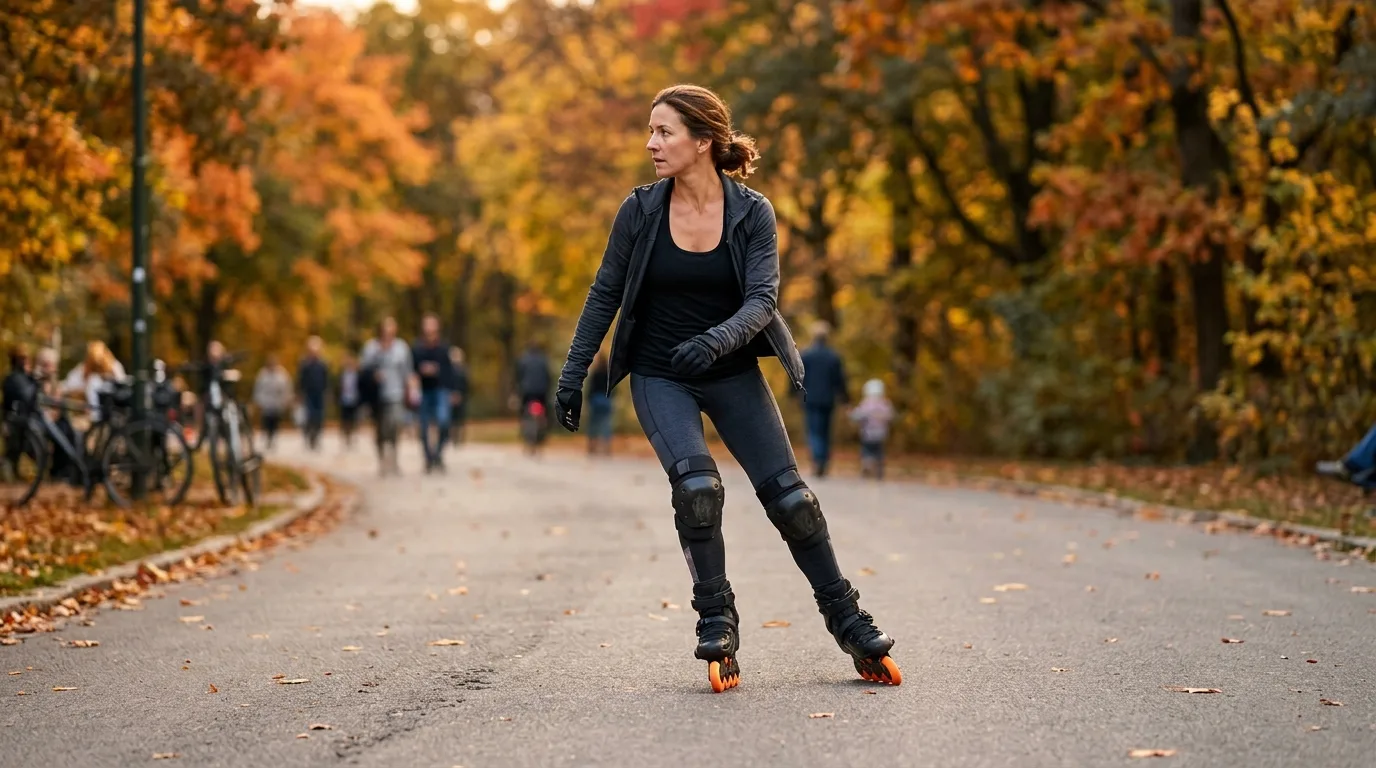
Skating backwards opens up a whole new level of freedom, manoeuvrability and control in the city and at the skatepark. In this comprehensive guide, Bogdanca Academy instructors explain step by step the correct stance, introductory exercises, smooth turns and stopping techniques. Find out how to master moving backwards safely and without stress, whatever your current level.
Skating backwards on inline skates (also known as fakie or backward skating) is one of the most important milestones in every skater’s development. Mastering this skill not only lets you perform impressive freeskate and freestyle slalom moves, but above all dramatically improves your safety, spatial awareness and feel for the edges of your wheels. To move smoothly with your back to the direction of travel, all you need to do is learn the correct scissor stance, keep your eyes over your shoulder and understand the mechanics of so-called backward swizzles (“lemons”). In this guide, our instructors and technicians from the Bogdanca shops in Poznań and Wrocław take you through the whole process – from the first push to advanced crossovers.
Why learn to skate backwards on inline skates?
For many beginner skaters, skating backwards seems like an insurmountable barrier. You lose your natural visual control, and your centre of gravity behaves differently than during a classic skating stride. But once you overcome this psychological resistance, you gain a powerful set of tools that are useful in everyday urban skating.
Above all, you gain versatility. In heavy city traffic, being able to turn 180 degrees in a flash and carry on skating backwards lets you avoid a sudden obstacle, a pedestrian stepping onto the path or an uneven surface. Secondly, skating backwards demands excellent work from your deep core muscles, glutes and quadriceps, improving your overall balance. Thirdly, it is a direct ticket to advanced techniques: rotations, jumps, slides and slalom routines.
It is worth remembering that learning to skate backwards teaches you to use the inside and outside edges of the wheels precisely. Understanding how tilting the boot generates propulsion will make every other manoeuvre easier for you in the future, including the winter switch to the ice rink, which we write about in detail in the article how to switch from inline skates to ice skates.
Equipment and skating backwards: which skates and accessories make learning easier?
Although you can learn the basics of skating backwards on any skates in good working order, the right equipment can cut learning time by as much as half. In our shops, we advise skaters every day on how to configure their setup so they are not fighting an unstable boot or a frame that is too long.
Boot construction: a stiff hardboot is the foundation
For confident backward skating, turns and crossovers, urban / freeride skates with a hard composite shell (hardboot) work best. It holds the ankle joint uncompromisingly and transfers power to the frame instantly. Soft recreational fitness boots can tend to fold inwards under lateral loads, which makes it harder to hold a stable edge.
Wheel and frame setup
The optimal setup for learning is a classic four-wheel arrangement with 80 mm wheels, or possibly 84 mm. This configuration guarantees a low centre of gravity and excellent manoeuvrability. It is worth choosing proven 80 mm inline skate wheels with a round profile (bullet or full round) and a hardness in the 84A–86A range. They offer the ideal compromise between grip and the ability to slide in a controlled way.
If your goal is competitive freestyle slalom, an excellent solution for freestyle slalom skates is the so-called rocker (banana), meaning the outer wheels are raised by 2 mm relative to the middle ones. This makes the skate turn almost on the spot. For beginners, however, we recommend a flat setup, which gives maximum stability front to back and prevents you from rocking back onto your heels uncontrollably. Also remember to keep an eye on how your wheels are wearing – you will find a detailed rotation pattern in the post how to rotate inline skate wheels.
Safety first
When learning to skate backwards, the most common falls are backwards, onto the tailbone and back. That is why an absolutely essential foundation is a certified helmet for inline and roller skating with a skate-style (“nutshell”) profile that protects the back of the head (read our guide: skating helmet – which one to choose?). A full set is also a must: protective gear for inline and roller skating, including hard wrist guards, knee pads and elbow pads.
The correct starting stance for skating backwards
Before you make any propulsive movement, you need to master the correct posture and lock it into your muscle memory. A wrong body position is the main reason for losing balance and being afraid of falling.
- Deep bend in the knees and ankles: Your shins must press clearly against the tongues of the boots (liners). Your centre of gravity should be low, right above the middle of your feet. Locked, straight knees immediately lead to losing your balance backwards.
- Slight forward lean of the upper body: Your back should be straight, but your chest leaning slightly forwards. Never lean back! Although you are travelling backwards, your upper body stabilises the whole system by leaning slightly forwards.
- Scissor stance: Do not keep your skates parallel side by side. One foot (usually the dominant one) must be set back by about half a boot length, while the other stays in front. This stance creates a wide base of support and completely eliminates the risk of tripping over small stones.
- Eyes over your shoulder: Turn your head and shoulder towards the foot that is set back. Look over your shoulder into the space you are skating into, not down at your own wheels.
- Arms for balance: Hold your hands loosely in front of you at hip or chest height, which stops your shoulders rotating in the wrong direction.
Learning to skate backwards on inline skates: step-by-step exercises
It is worth dividing the process of mastering the technique into 4 logical, consecutive stages. Do not move on to the next exercise until you feel completely comfortable with the previous one.
Step 1: Static feel for the stance and the first push off a railing
Find a smooth, flat square, a park path or a skating hall with a railing. Stand facing the railing, hold it with both hands and set your skates in a “V” position (heels pointing slightly inwards, toes outwards). Bend your knees well, look over your right shoulder and gently push yourself away from the railing with your hands.
Let your skates roll backwards in the scissor stance for 3–4 metres without making any movement with your legs. Focus solely on keeping a low stance and bent knees and watching the route behind you. Repeat this exercise a dozen or so times, switching the side you look over (once over the right shoulder, once over the left).
Step 2: Backward swizzles (“lemons”) – building propulsion
Swizzles (also called lemons, hourglasses or barrels) are the fundamental propulsive element. They let you generate speed without lifting the wheels off the ground, which gives you the greatest possible sense of stability.
- Set your feet in an inverted “V” position – toes pointing inwards (almost touching at the tips), heels outwards.
- Bend your knees and put pressure on the inside edges of the wheels, while pushing your feet outwards and back. The skates will start rolling along an outward curve.
- When your feet are slightly more than shoulder-width apart, start turning your heels inwards and straightening your knees slightly (but do not lock them!), closing the “lemon” shape.
- When your heels are a few centimetres apart, point your toes inwards again, bend your knees and start the next pushing phase.
A smooth sequence of bending and straightening your legs, combined with pressure on the edges, lets you keep up your speed continuously without having to lift your skates off the tarmac.
Step 3: Backward half-swizzles – skating in a straight line
Once you have mastered two-footed swizzles, it is time to move on to one-footed propulsion, which lets you skate perfectly straight while keeping the scissor stance:
- Place your leading skate steadily at the back in the scissor stance – it carries about 60-70% of your body weight.
- The other (pushing) leg performs the half-swizzle movement: it pushes along a curve to the side and back, using the inside edge of the wheels, and then returns parallel to the leading leg.
- Practise this movement alternately – 10 repetitions with the right leg pushing, then switch the scissor stance and do 10 repetitions with the left leg.
Step 4: A smooth backward stride
The final stage of basic backward skating is the classic propulsive stride. It resembles a reversed skating stride: the pushing skate pushes off at a 45-degree angle to the side and forwards, while the gliding skate rolls straight backwards. At the end of the push, the leg returns under your centre of gravity, followed by a smooth transfer of weight to the other side.
Transitions: how to turn smoothly from forwards to backwards?
Skating backwards only becomes truly fluid when you can change direction freely while moving, without stopping. The most popular and most versatile technique is the transition through an open position (the mohawk turn / step turn).
The mohawk turn step by step
Making a 180-degree turn from skating forwards to skating backwards requires mastering the hip-opening technique:
- While skating forwards at a moderate speed, take up a stable scissor stance (e.g. right foot in front).
- Shift your whole body weight onto your front, right foot.
- Turn your head and upper body to the right, opening your chest.
- Lift your left foot, turn it 180 degrees (heel to heel) and put it down on the tarmac behind your right foot, facing the direction of backward travel.
- Smoothly shift your body weight onto your left foot, then bring your right foot alongside it, parallel, and carry on skating backwards in the scissor stance.
The key to success is not to make the turn by jumping, but by precisely rolling your weight from one skate to the other with your knees bent the whole time. If you want to perfect these elements under the eye of professionals, check out the classes we offer in inline and ice skating lessons.
Advanced technique: backward crossovers
Once you have mastered skating backwards in a straight line, the natural next step is learning to move along curves and round corners. This is what backward crossovers are for – an extremely dynamic and elegant element known both from roller skating tracks and from hockey rinks.
Mechanics of the backward crossover
When taking a curve backwards (e.g. to the left):
- Role of the inside (left) leg: It rolls along the curve on the outside edge of the wheels, constantly supporting the body as it leans into the turn.
- Role of the outside (right) leg: It pushes off with the inside edge, then is lifted and carried over the top of the left leg, landing steadily on its inner side.
- Second push (underpush): As soon as the right foot touches the ground, the left leg (now underneath) makes a strong push to the side with the outside edge, and only then returns to its position.
Backward crossovers let you generate a huge amount of speed on corners and roundabouts and are the foundation of urban freeride skating.
How to brake when skating backwards on inline skates?
Being able to stop instantly when skating backwards is an absolute condition of safety. The traditional rubber brake fitted at the heel becomes useless when skating backwards (and can even catch on the tarmac, which is why most advanced skaters decide to remove it). What techniques do you have at your disposal?
1. Backward plough stop
The simplest and most intuitive method of braking from low and medium speeds. With your feet wider than hip-width apart, bend your knees well and point your heels outwards and your toes inwards. Put strong pressure on the inside edges of the wheels while pushing your legs outwards. The friction of the wheels on the tarmac will quickly kill your speed until you come to a complete stop.
2. Powerslide
One of the most spectacular and effective methods of emergency stopping. It requires a quick 180-degree turn: one leg stays well bent as the gliding leg (rolling backwards), while the other is extended backwards at a sharp angle to the tarmac and put into a controlled slide on the inside edge of the wheels. You can read more about this manoeuvre in our article how to stop on inline skates without a brake.
3. Turning into a T-stop
If you do not yet feel confident with the powerslide, the safest solution is to make a quick mohawk turn to skating forwards and immediately apply a classic forward T-stop.
Comparison of learning stages and equipment setup
The table below summarises the successive stages of learning to skate backwards, together with the equipment requirements and key technical tips.
| Learning stage | Main exercise | Recommended wheel setup | Best boot type | Key point to focus on |
|---|---|---|---|---|
| Beginner | Backward swizzles, rolling back from a railing | Flat (4x80 mm or 4x84 mm) | Hardboot (composite) | Deep knee bend, eyes over the shoulder |
| Intermediate | Half-swizzles, backward stride, 180° mohawk turn | Flat 4x80 mm or 3x100 mm | Urban / freeride hardboot | Scissor stance, smooth weight transfer |
| Advanced | Backward crossovers, backward plough stop, powerslide | Flat or Rocker 4x80 mm | Urban / slalom skates | Strong use of the outside edges, low centre of gravity |
| Expert / Freestyle | One-footed backward crossover, backward slides | Full Rocker (banana 76-80-80-76 mm) | Carbon / heat-mouldable freeskate boot | Precise control of the shoulder line, hip rotation |
Practical experience from Bogdanca advisers: customers’ most common mistakes
Working with skaters in our shops in Poznań and Wrocław and during Bogdanca Academy workshops, we regularly diagnose recurring mistakes that hold back progress in skating backwards. Here is a summary of the most important ones, together with solutions:
- Looking between your legs or at your feet: A natural fear reflex makes the skater drop their head, trying to check the position of their skates by sight. This immediately rounds the back, straightens the legs at the knees and leads to a loss of balance. Always look over your shoulder at the horizon!
- Skating with “straight legs”: Without a bend in the ankles and knees, you cannot put pressure on the edges of the wheels. Remember: if you cannot feel the tongue of the boot pressing firmly against your shin, your stance is too high.
- A boot fastened too loosely: To control your edges precisely during swizzles or crossovers, your foot must not have any play in the boot. The top buckle must stabilise the cuff, and the 45-degree micro-adjustable buckle must press your heel down into the bottom of the shell. If you feel any play, specialist sports insoles that reduce the volume and stabilise the arch of the foot can help.
- Skating with both feet in one line (no scissor stance): With your skates parallel side by side, the smallest gap in the tarmac or a twig can make you fall backwards. One foot must always be set back!
Frequently asked questions about skating backwards on inline skates (FAQ)
Does the factory brake at the back of the skate get in the way of learning to skate backwards?
Yes, the rubber brake on the right skate can catch on the tarmac during deep backward swizzles and when making turns and crossovers. If you are starting to learn to skate backwards regularly, we recommend removing the brake and replacing it with a shorter service axle, and instead mastering the backward plough stop or the powerslide.
How long does it take to master stable backward skating on inline skates?
Most people who can already skate forwards and turn confidently master basic backward swizzles within 2–4 hours of focused training. Smooth transitions with a 180-degree turn and backward crossovers usually take from 2 to 4 weeks of regular practice (2–3 sessions a week, 45 minutes each).
Is it easier to learn to skate backwards on 3 or 4 wheels?
It is definitely easier to learn on 4 wheels with a diameter of 80 mm. A 4x80 mm setup gives a lower centre of gravity, a shorter frame and a larger base of support front to back than 3x110 mm skates, which are more prone to tipping sideways when you make early mistakes in your stance.
Why do my shins and feet hurt when I skate backwards?
Pain in the shin muscles and instep is most often caused by excessive, nervous clenching of the toes (a gripping reflex) and constant tension caused by fear. The solution is to consciously relax your feet in the boots, bend your knees more and make sure the boot is the right size and has a well-fitting liner.
Can you safely skate backwards on ordinary recreational skates?
Yes, basic exercises such as swizzles or rolling backwards in the scissor stance can be done successfully on recreational skates. However, for dynamic turns, crossovers and skating backwards down slopes, we strongly recommend freeride/urban skates with a hard shell, which protect the ankle from twisting.
How do you avoid skating into an obstacle when going backwards?
The key is constantly checking the space over your shoulder, combined with a slight rotation of the chest. Never skate backwards “blind” for more than 2 seconds without checking the situation behind you. It is also worth practising looking alternately – over your right and left shoulder.
Summary: start training safely with Bogdanca
Skating backwards on inline skates is an incredibly satisfying stage in your adventure with skating sports. It gives you the freedom to choose your line, lets you play smoothly with the urban space and builds the foundations for all forms of freestyle. Remember to start with the basics: a low stance, bent knees, eyes over your shoulder and accurate swizzles.
If you are looking for the right equipment for urban skating, need to try on skates with a stiff shell, choose harder wheels or fit a helmet, visit our Bogdanca shops in Poznań and Wrocław or check out the range in the bogdanca.pl online shop. Our advisers will help you configure the ideal setup for your feet and training goals. Put on your protective gear, bend your knees and get training – skating backwards is well within your reach!
See in the shop
Urban and freeskate skates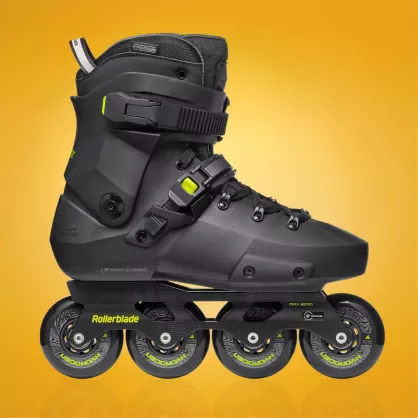
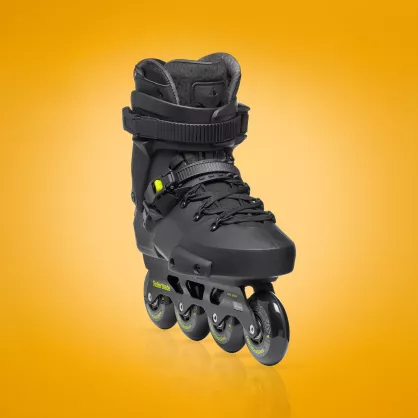
Rollerblade3 colours
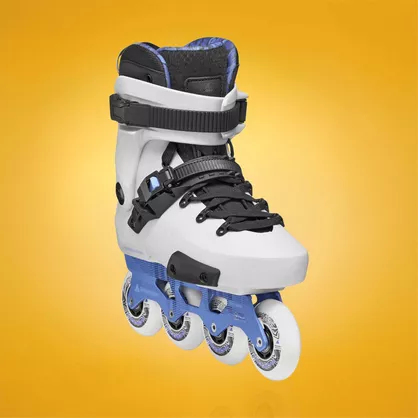
Rollerblade Twister XT inline skates, black/lime
4×80 mm · 85A · ILQ-9 · 243 mm aluminium frame (255 mm from EU 44.5)
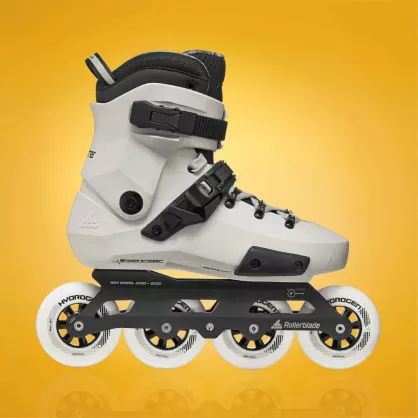
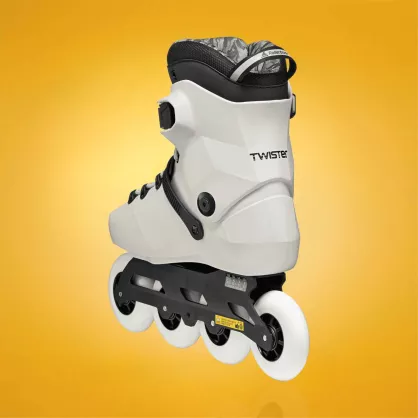
Rollerblade
Rollerblade Twister 90R inline skates
4×90 mm · 85A · ILQ-9 · 3&4WD aluminium frame 274 mm
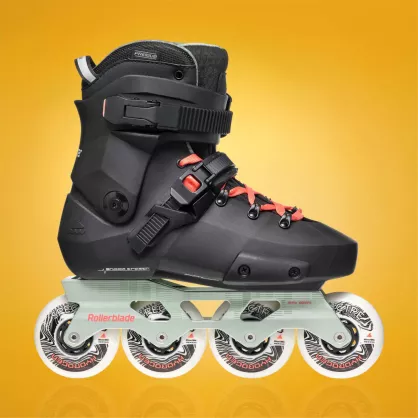
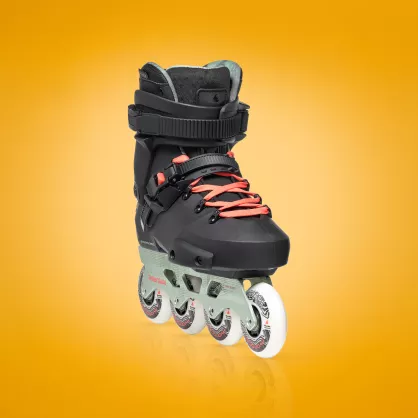
Rollerblade
Rollerblade Twister XT W inline skates, black/mint
4×80 mm · 85A · ILQ-9 · 243 mm aluminium frame
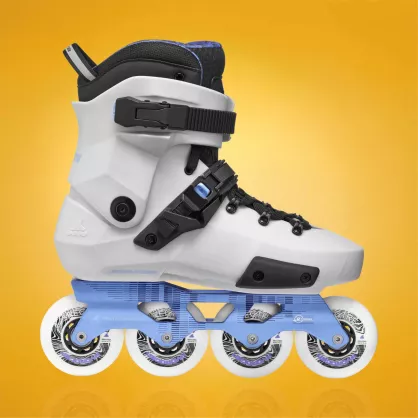
Rollerblade3 colours
Rollerblade Twister XT inline skates, grey/sky blue
4×80 mm · 85A · ILQ-9 · 243 mm aluminium frame
Read on
All posts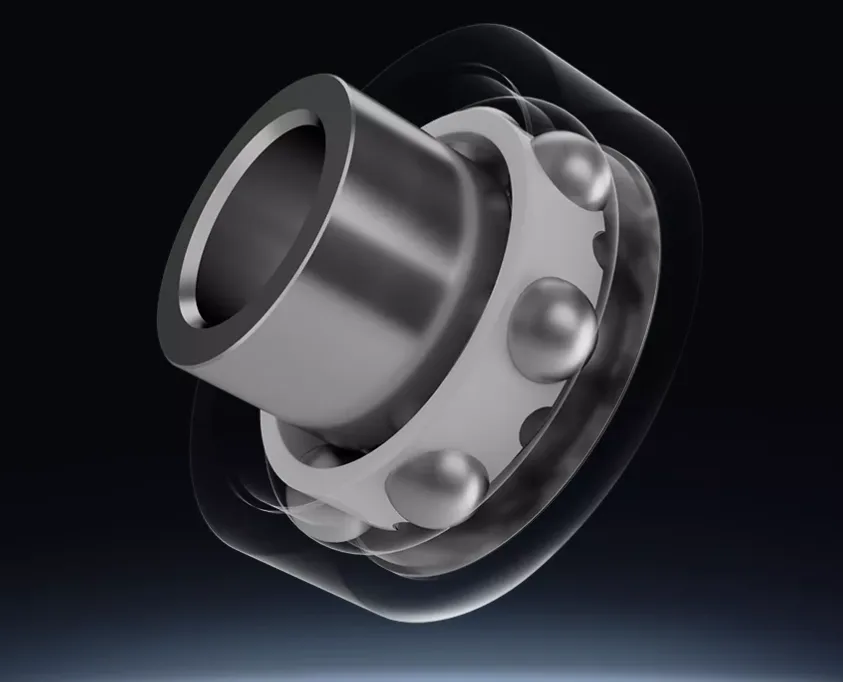
Universal wheel spacers for inline skates – why are they a bad idea?
A manufacturer’s website presents universal spacers that are supposed to fit any wheel. It sounds like a breakthrough, but in the world of inline skating, in our…
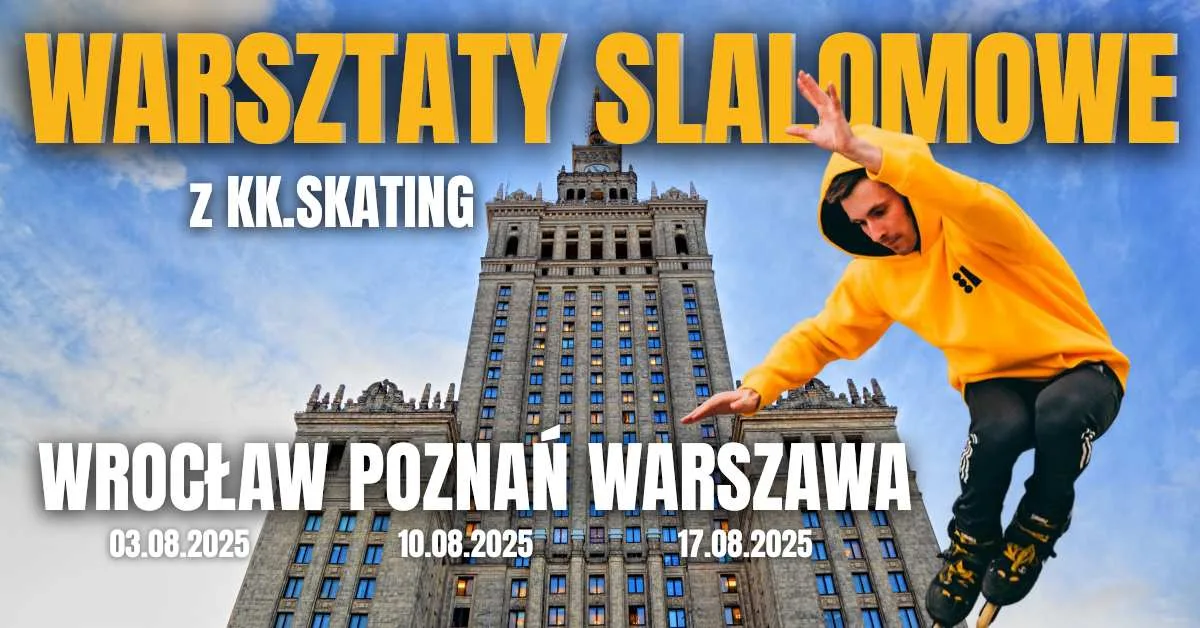
Slalom skating workshops with Konrad Kita – Warsaw, Poznań, Wrocław
Join the slalom workshops run by Konrad Kita – one of the best instructors and competitors in Poland. Learn new tricks, improve your skating technique and meet people…
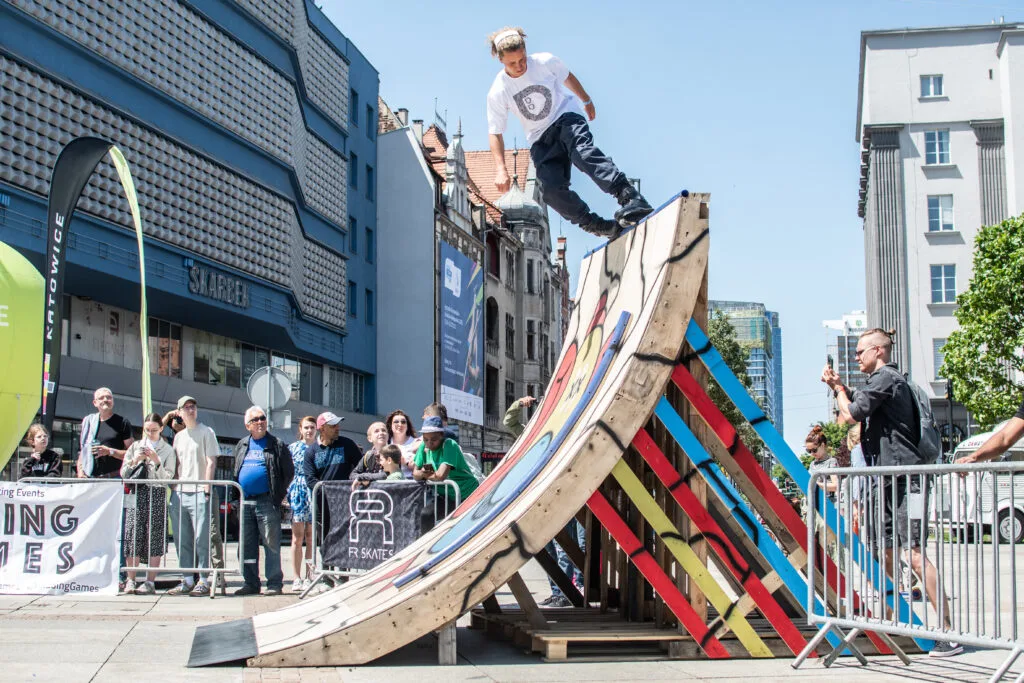
Blading Games vol. 2
Speed and agility marked out the competitors who gathered on 3 June in the Main Market Square in Katowice to put on a fantastic display of aggressive inline skating at…